
Hey guys! Due to being home more often because of social distancing, I had the urge to redecorate and I tackled the bathroom first.
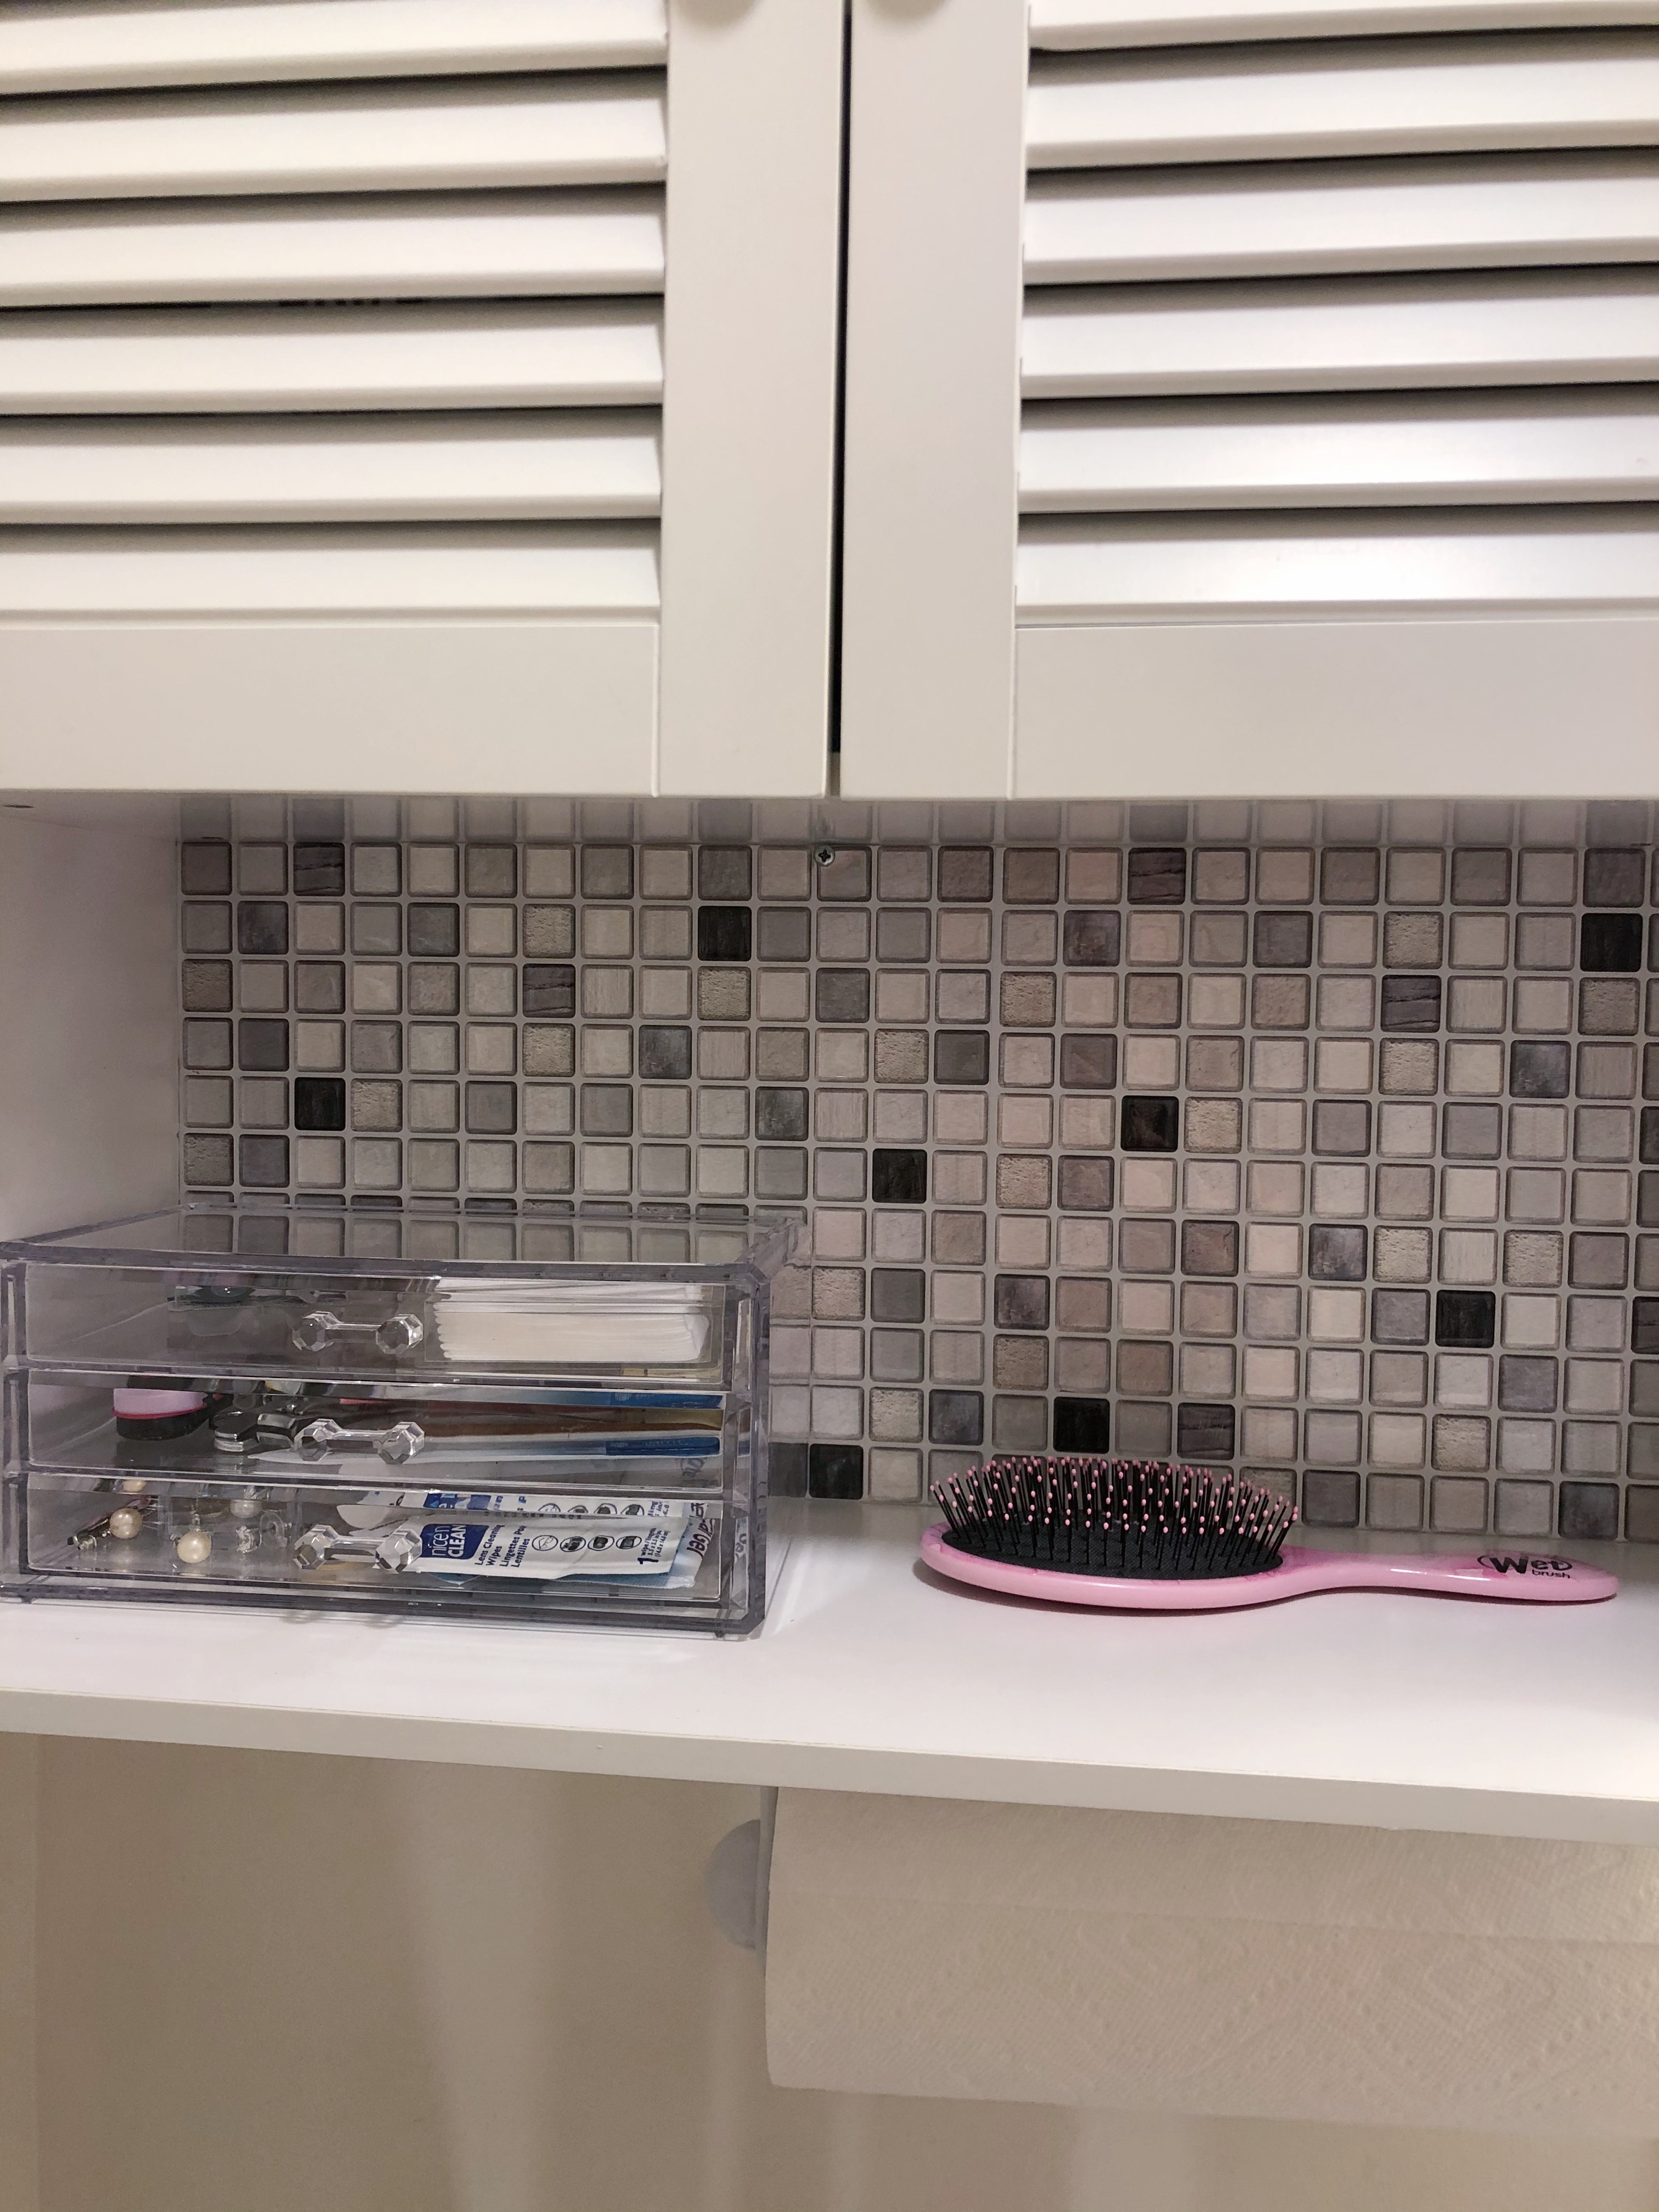
I updated the look of my bathroom vanity by using 2 types of contact paper and peel and stick backsplash tiles.
Hopefully this video inspires you to do it too! (Btw I totally did it the harder way because 1. it’s surrounding the sink & 2. I wanted to try to minimize the amount of seams, it’ll be much faster and easier if you just have a plain counter surfaces)


References:
– 4 Year Marble Contact Paper Experience & Removal
– How to contact paper cabinets via @Tia Zamara
I’m planning to keep the contact paper DIYs long-term or until I commit to a style to maybe permanently repaint/replace the countertop but for now, this is amazing enough.

Products used:
- Grey/Bronze Wallpaper
*edit: as of 2021 I am now an amazon affiliate and if you use my link at no extra cost to you, I might earn from qualifying purchases
*The video & this blog post are not sponsored by products used and all opinions are my own. Thanks!


